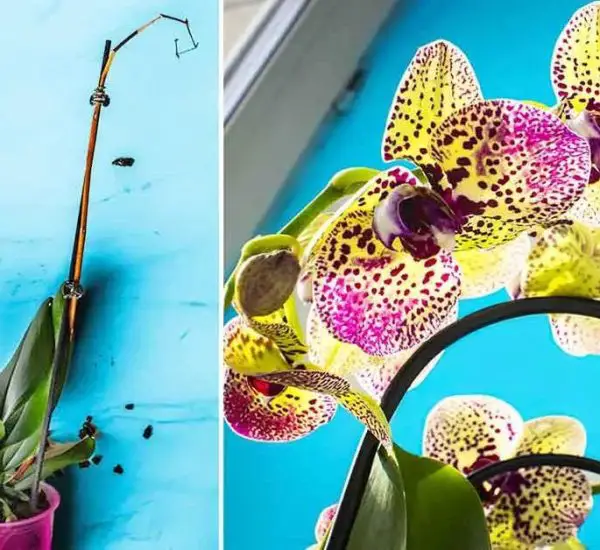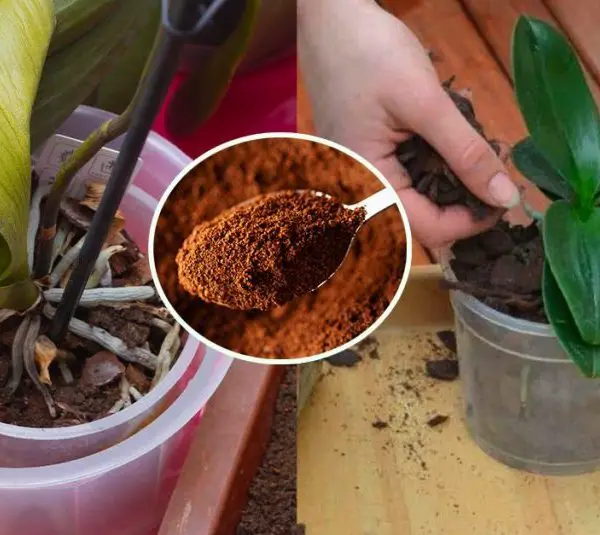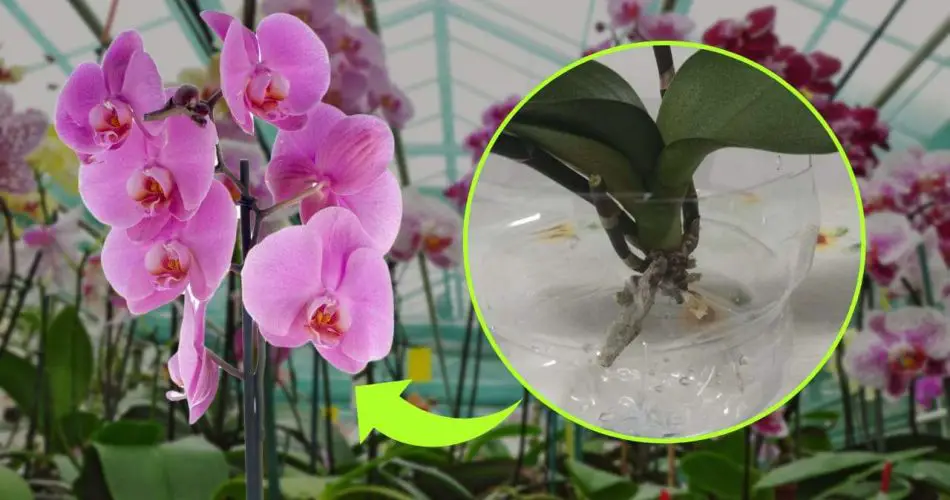
Reviving a rootless orchid might seem like a daunting task, but it’s actually simpler than you think! Whether your orchid has lost its roots due to overwatering or poor care, the good news is that orchids are resilient plants, and with a few simple steps, they can be brought back to life. Here’s how nurserymen bring dead or damaged orchids back to life in just a few days—and how you can do it too.
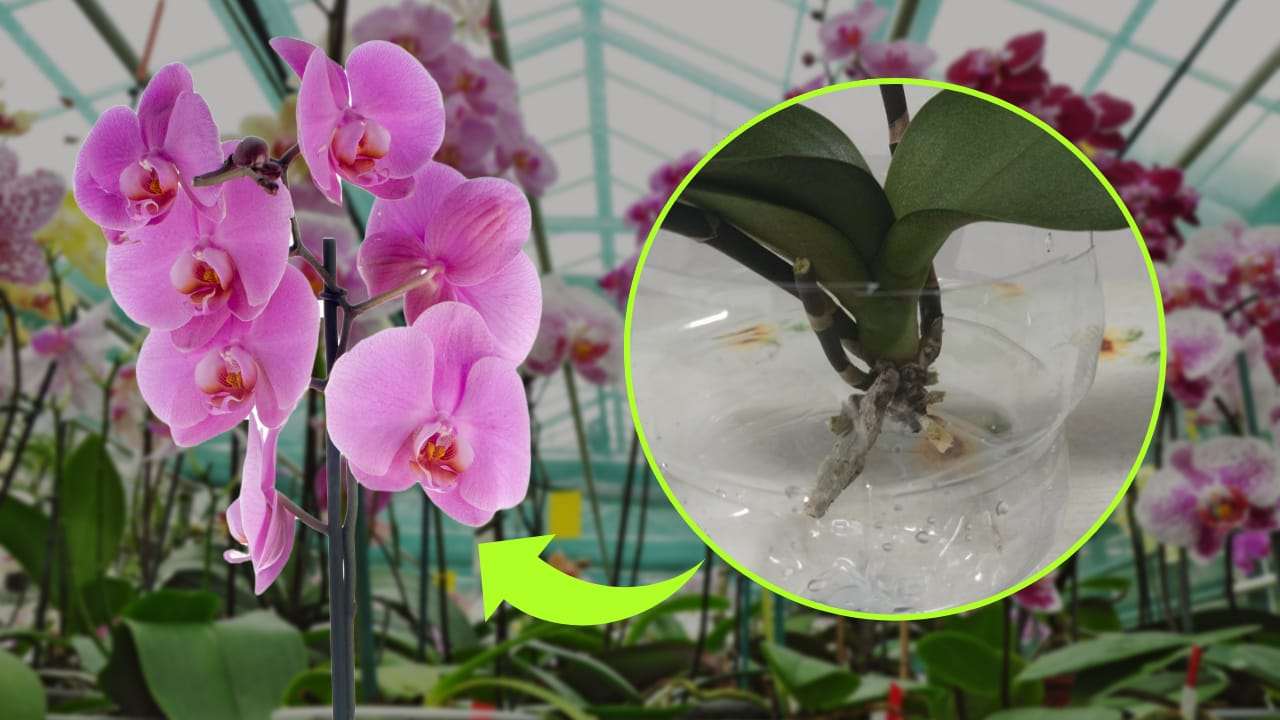
The Beauty of Orchids: A Delicate Balance
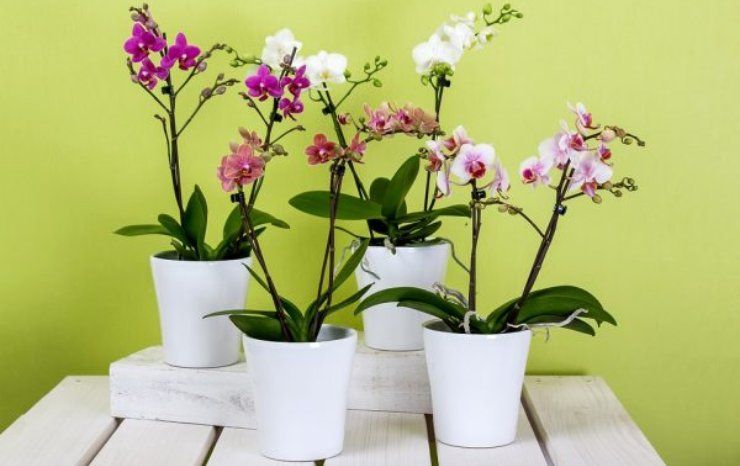
Orchids are beloved for their stunning blooms and unique appearance. Originally from Asia, there are over 20,000 different orchid species and 650 different genera. While they were once considered elite plants that required special conditions, today many varieties are perfect for growing in cooler European climates. Orchids are now popular in homes and gardens due to their adaptability.
However, orchids have some specific care requirements to thrive:
- Light: Orchids should not be exposed to direct sunlight. It’s important to provide filtered light to avoid burning their leaves and flowers.
- Watering: Orchids should not be watered every day. Typically, they need water every 5 to 12 days, depending on the season, and slightly more often in the warmer months.
Despite these care tips, orchids can sometimes weaken, particularly when their roots are damaged. If your orchid’s roots are unhealthy or missing, it’s time to act fast to revive the plant.
How to Revitalize a Rootless Orchid in a Few Simple Steps
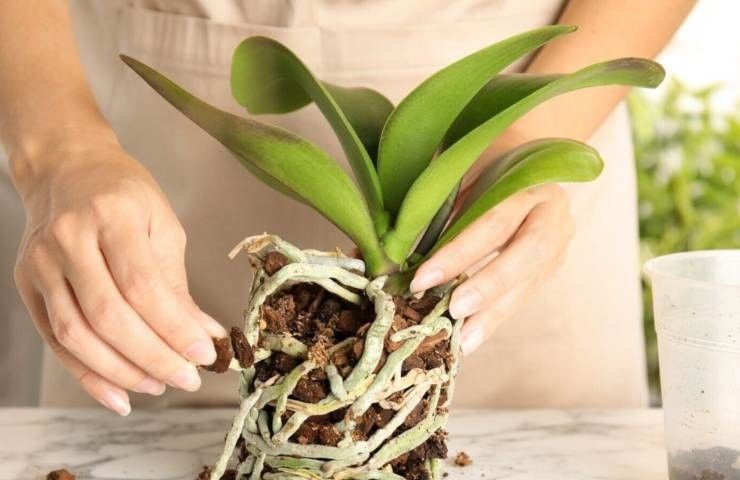
The key to bringing a rootless orchid back to life lies in properly caring for its roots. Here’s a step-by-step guide to help you revive your orchid and watch it flourish again.
Step 1: Trim Damaged Roots
First, inspect the roots carefully. If the orchid has dead or damaged roots, take sharp scissors or pruning shears and trim away any brown, mushy, or decayed roots. Healthy roots are typically firm and white or green in color, while damaged roots will appear soft, brown, or black.
Step 2: Prepare the Pot
Choose a pot with good drainage to help prevent excess water from collecting at the bottom. Add some gravel at the base of the pot to improve drainage. Gravel will allow excess water to drain more effectively, which is crucial for preventing root rot.
Step 3: Add Sand to the Pot
Now, take a little bit of sand and place it in the pot. This is the secret ingredient that will help stimulate the growth of new roots. Sand is beneficial because it ensures good air circulation around the roots, which is essential for root health. Use your fingers to create small holes in the sand where you will insert the orchid’s remaining healthy roots.
Step 4: Water and Place in a Bright, Airy Location
After planting, water the orchid thoroughly, but make sure the pot is placed in a saucer to catch any excess water. Put the pot in a bright, airy location with indirect sunlight. Avoid direct sun, which can scorch the orchid’s delicate leaves. With time, the orchid will begin to recover, and you’ll notice the growth of new roots.
Step 5: Transplant Once Roots Have Developed
Once the orchid has developed strong roots and shows signs of recovery, it’s time to transplant it into a new pot. Gently remove the orchid from the old pot, being careful not to damage the new roots. Clean the roots with water to remove any debris. Then, place the orchid in a new pot with fresh orchid soil and add some small stones at the bottom for additional drainage.
At this point, your orchid is officially reborn!
Tips for Ongoing Orchid Care

To ensure your orchid thrives after its revival, here are some helpful tips for long-term care:
- Light: Orchids thrive in bright, indirect light. If the leaves turn yellow, your orchid may be getting too much direct sunlight. If the leaves become too dark, it may not be getting enough light. In both cases, adjust its placement accordingly.
- Temperature: Orchids prefer temperatures between 20°C (68°F) during the day and 16°C (60°F) at night. Be sure to keep your orchid in a space with stable temperatures and away from any drafts or direct heat sources.
- Watering: Orchids don’t require a lot of water. Watering once a week is typically sufficient. To avoid root rot, soak the pot in water for 5 to 10 minutes once a week, preferably using rainwater or dechlorinated water.
- Fertilization: During the growing season (from March to October), fertilize your orchid twice a month with a specialized orchid fertilizer to promote healthy growth and flowering.
- Soil: Use a specialized orchid mix that provides good drainage. Avoid regular potting soil, as it can retain too much moisture and suffocate the roots.
Conclusion: Orchids Can Be Revived with a Little Patience and Care
Reviving a rootless orchid is not as complicated as it might seem. By following a few simple steps—cutting off damaged roots, planting in a well-drained pot, and providing the right amount of water and light—you can easily bring your orchid back to life. In just a few days, you’ll notice new roots growing, and in no time, your orchid will be blooming beautifully once again!
With these techniques and some loving care, you’ll have a stunning orchid that thrives in your home, and your neighbors will surely be envious of your blossoming plant!