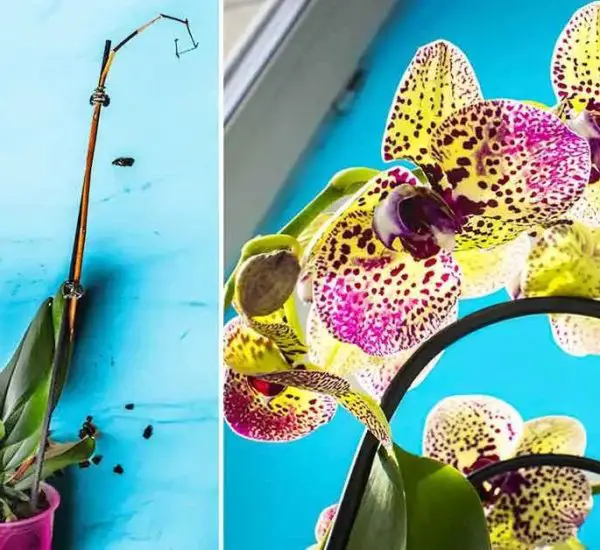
Orchids are truly remarkable plants, known for their stunning colors and unique beauty. From yellow to pink, purple to white, and even speckled petals, these flowers add a touch of elegance to any space. But despite their stunning appearance, orchids can be surprisingly difficult to care for. One common issue that orchid owners face is dealing with rotten roots, which can signal serious problems with the plant’s health. If you find yourself facing this challenge, don’t panic! With the right care, you can revive your orchid and get it back to thriving. Here’s what to do when your orchid shows signs of root rot and poor health.

Signs Your Orchid Might Be Sick
Before we dive into how to save your orchid, it’s important to recognize the warning signs that your plant might be in trouble. Here are the most common symptoms of an orchid in distress:
1. Yellow or Brown Leaves
If you notice your orchid’s leaves turning yellow, brown, or falling off too easily, this is a clear sign that something is wrong. It could be a sign of disease, or simply that the orchid is not receiving enough water or light. Early intervention can prevent further damage.
2. Withered Flowers
If your orchid’s flowers appear wilted or wrinkled, it may indicate a nutrient deficiency or a disease. This is a call for immediate care to address the underlying problem.
3. Rotten Roots
Rotten roots are one of the most obvious signs that something is terribly wrong. Decomposing roots can be caused by fungal infections or poor drainage. If you notice the roots are mushy, blackened, or smell unpleasant, it’s crucial to take action.
4. Poor Growth Activity
If your orchid isn’t growing as expected or flowering too slowly, it could be a sign that it’s not receiving enough nutrients or care. This might also be due to the presence of pests or diseases.
Note: Identifying the issue quickly is key to saving your orchid. Many orchid problems are linked to pests, poor maintenance, or nutrient deficiencies, and can be resolved with the right steps.
How to Save an Orchid with Rotten Roots
If your orchid has rotten roots, the first thing to remember is don’t panic! While it can be alarming to see your orchid in distress, it’s not too late to nurse it back to health. Here’s what you need to do:
1. Remove Damaged Roots and Leaves
The first step is to carefully remove any damaged roots and wrinkled leaves. Yes, it’s sad to say goodbye to those parts, but it’s essential for the plant’s recovery. Removing the dead or decaying parts will give your orchid the chance to focus on healing and growing strong again.
2. Prepare a Baking Soda Solution
Now comes the surprising part—baking soda! This common household item is not only great for baking and cleaning, but it also has many benefits for plants. To use it for your orchid, dissolve one teaspoon of baking soda in one liter of water. This solution can help combat root rot and promote healthier growth.
3. Apply the Solution
Once your orchid’s damaged parts are removed, gently spray the remaining leaves with the baking soda solution. Be sure to coat all the leaves evenly. Additionally, use the same solution to water the orchid’s roots. This can help revitalize the roots and encourage new growth.
Important Reminder:
Avoid applying this mixture when your orchid is in bloom. The baking soda could interfere with the growth of the flowers, so it’s best to wait until the flowers have faded before using the solution.
Should You Cut the Roots of an Orchid?
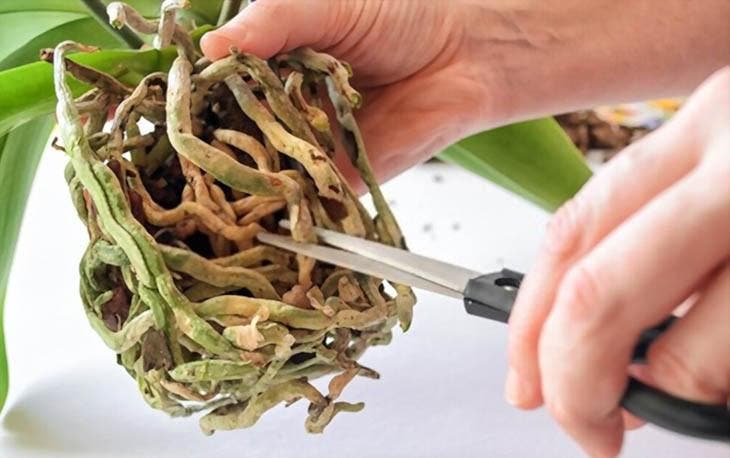
If your orchid has already lost its flowers, you may wonder whether you should prune it. The answer is yes, but with care. After the blooming period, you should cut back the stem or flower spike to encourage the plant to focus on growth rather than wasting energy on a spent flower stalk.
How to Prune an Orchid Properly:
- Use clean, sharp scissors or a knife.
- Cut just below the root of the spent flower spike.
- Dispose of the cut stem to prevent any diseases from spreading.
By cutting the spent flowers, your orchid will be able to focus on strengthening its roots and getting ready for the next blooming cycle.
General Orchid Care Tips for Healthy Growth
Once you’ve treated your orchid for root rot, it’s important to continue providing it with the right care. Here are a few general tips to help your orchid thrive:
- Watering: Orchids don’t like being overwatered. Water them regularly, but make sure the soil has proper drainage to prevent root rot. Only water when the top layer of soil is dry to the touch.
- Light: Orchids prefer indirect light. Too much direct sunlight can burn the leaves, while too little light can hinder growth and flowering.
- Temperature: Maintain a consistent temperature. Orchids thrive in temperatures between 60-80°F (15-27°C).
- Fertilizing: Orchids need regular feeding to stay healthy. Use a balanced orchid fertilizer, but be careful not to overfeed.
- Humidity: Orchids enjoy high humidity. You can increase humidity by placing a shallow tray of water near your plant or by using a humidifier.
Conclusion: Reviving an Orchid with Rotten Roots
If your orchid has suffered from rotten roots, don’t give up hope. With a little patience and the right care, you can bring your orchid back to life. Start by removing the damaged parts, applying a baking soda solution, and maintaining consistent care with proper watering, light, and temperature. While it may take some time, your orchid can recover and continue to flourish—giving you more of those beautiful blooms you love.
With the right attention, you’ll be back to enjoying your orchid’s vibrant flowers in no time! 🌸