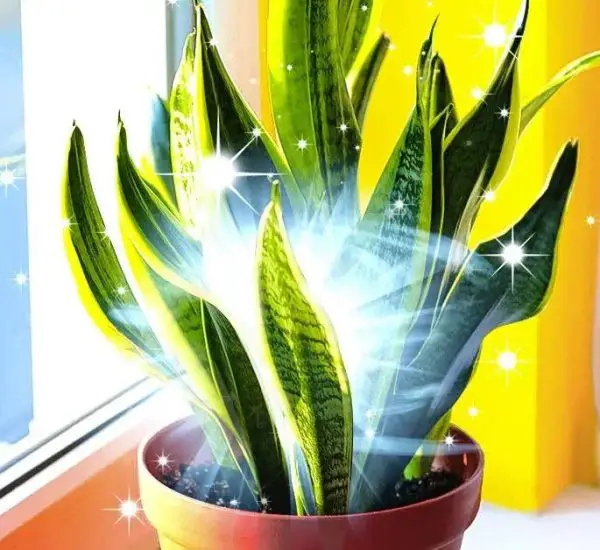
Sansevieria, also known as mother-in-law’s tongue, is a popular indoor plant known for its easy-care nature and air-purifying properties. This perennial succulent features evergreen foliage that grows in a rigid tuft and thrives in pots or planters. While it’s a slow grower and takes years to bloom, propagating sansevieria is simple and can be done from a single leaf. Here’s how you can multiply your plant from a single leaf cutting!
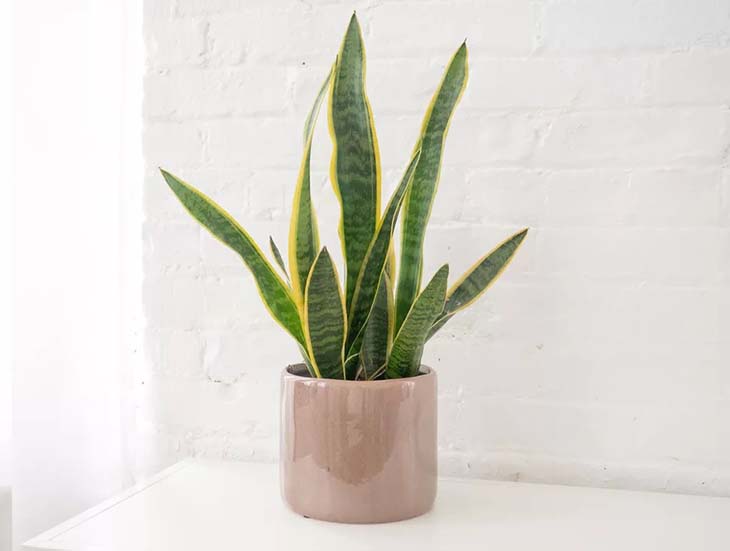
1. Propagating Sansevieria from a Leaf Cutting 🌿
Leaf Cuttings in Soil 🌱
Step 1: Select a Healthy Leaf
Use cleaned and disinfected pruning shears to cut a healthy leaf from your sansevieria plant. Place the leaf on a clean surface, such as a board.
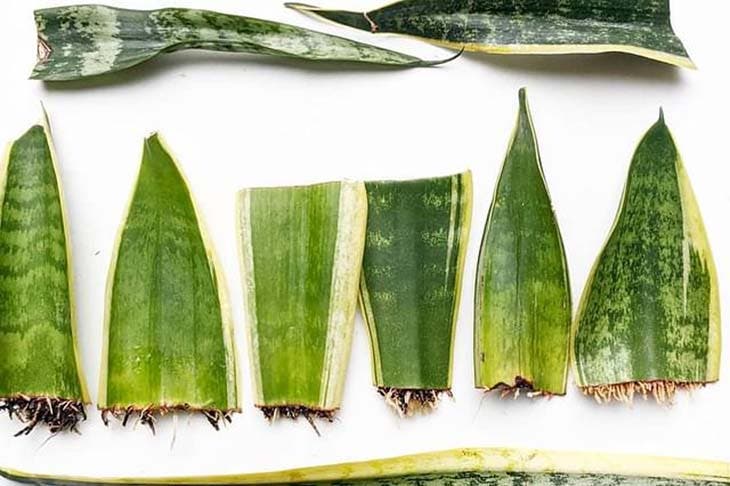
Step 2: Cut the Leaf into Sections
Cut the leaf into smaller sections, each about 8 cm long. Make a small incision at the base of each cutting, as this will indicate which end to plant in the soil. Remember, plant the end that was closest to the pot (before cutting) into the soil for proper growth direction.
Step 3: Dry the Cuttings
Allow the cuttings to dry for 1 to 3 days to prevent rotting. You can also apply a small amount of rooting hormone on the cut ends to promote rooting.
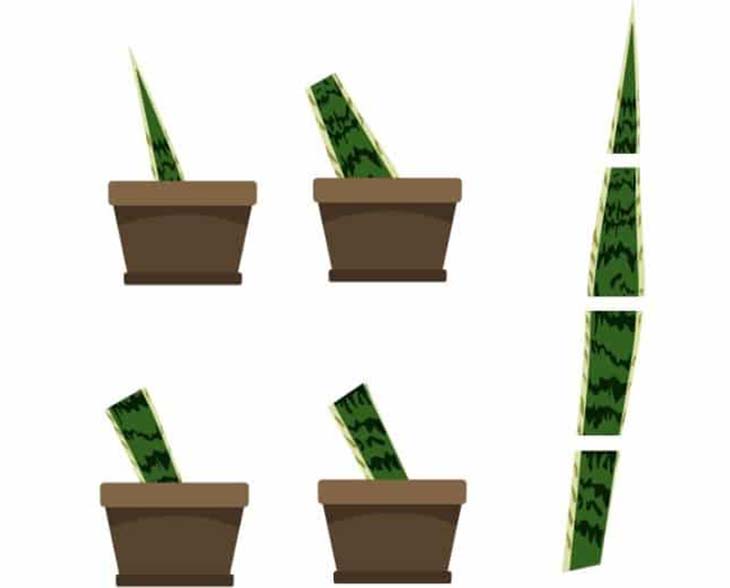
Step 4: Prepare the Pot
Use a terracotta pot with clay balls at the bottom for proper drainage. Prepare the substrate by mixing potting soil with sand for optimal soil texture.
Step 5: Plant and Care for the Cuttings
Place the dried cuttings in the center of the pot, then lightly water the substrate. To create a mini greenhouse, cut a plastic bottle in half and place the top over the pot. Be sure to remove the cap for at least 10 minutes each day to avoid condensation and lightly mist the soil. After about a month, new leaf growth should appear. Once established, transplant the young plants into their own pots.
Leaf Cuttings in Water 💧
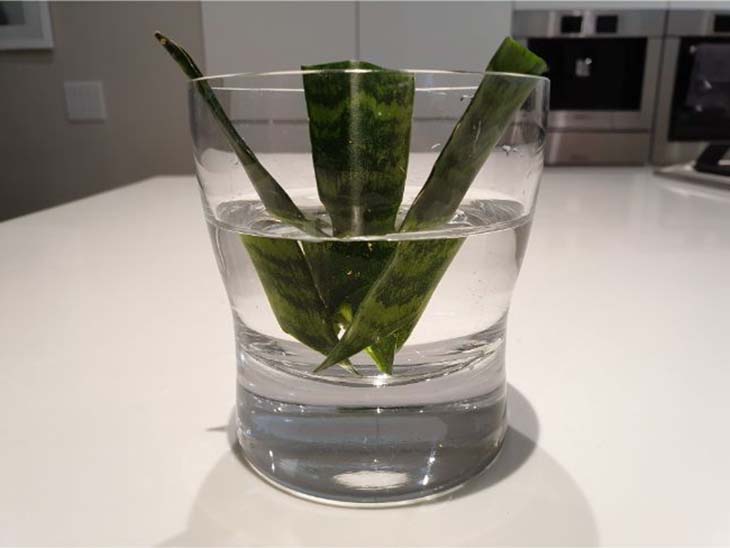
Step 1: Cut the Leaf
Cut a healthy leaf into sections as described above.
Step 2: Place the Cuttings in Water
Immerse the cuttings in a container of water, ensuring that the cuttings are positioned in the same direction as they were on the plant. Keep the container in a well-lit spot, but avoid direct sunlight. Change the water regularly to keep it clean.
Step 3: Wait for Roots
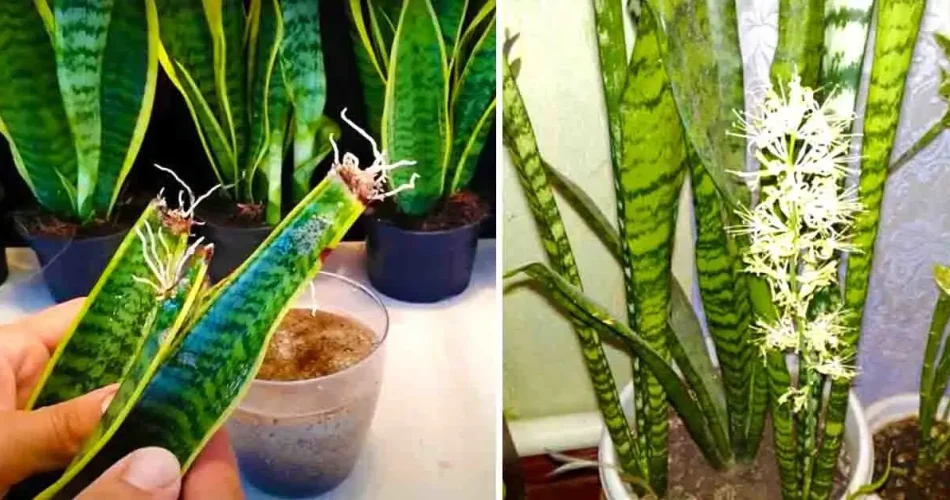
After 2 to 4 weeks, new roots will start to form. Wait until the roots are sufficiently developed before transplanting the cuttings into soil.
What You Need to Know About Sansevieria Varieties 🌿
If you’re working with a variegated sansevieria, be aware that propagating from leaf cuttings will only result in green plants, not plants with yellow stripes. To propagate variegated foliage, use a different technique: rhizome division.
Caring for Your Sansevieria 🌱
Once you’ve successfully propagated your sansevieria, caring for it is easy!
Watering 💧
Water your plant only when the soil is completely dry, as sansevieria can retain water through its fleshy tissues. In winter, reduce watering to about once a month. Make sure to remove any standing water to prevent root rot.
Temperature and Humidity 🌡️
Sansevieria thrives in warm, humid environments. Keep your plant away from drafts and heat sources like radiators.
Potting Soil and Fertilizer 🪴
Sansevieria prefers sandy soil. Use a cactus mix with added sand for the best results. Fertilize during the growing season with a cactus fertilizer or a slow-release liquid fertilizer. Avoid fertilizing in the winter months.
Exposure 🌞
Sansevieria loves light but should not be exposed to direct sunlight, as it can cause the leaves to burn. If the leaves turn pale, it may be a sign that the plant is not receiving enough light.
Dealing with Pests and Diseases 🐜
While sansevieria is relatively disease-resistant, it can attract mealybugs. If you notice an infestation, clean the leaves with a cloth soaked in rubbing alcohol or soapy water, then rinse with clean water.
Conclusion 🌿
Propagating sansevieria from a single leaf is a simple and effective method to expand your collection or share the plant with others. By following these steps and providing your new plants with proper care, you’ll soon have thriving, green additions to your indoor garden. This hardy, air-purifying plant is not only a beautiful addition to your home but also incredibly low-maintenance. Happy gardening! 🌿🌱