Bottle Brilliance: Growing Your Dream Celery Garden with Just a Few Plastic Bottles
Introduction: For housewives and gardening enthusiasts looking to cultivate a dream celery garden without a fuss, the solution might be as simple as repurposing plastic bottles. In this article, we’ll explore a creative and straightforward approach to growing celery using just a few plastic bottles, turning your dream of fresh, homegrown celery into a reality.
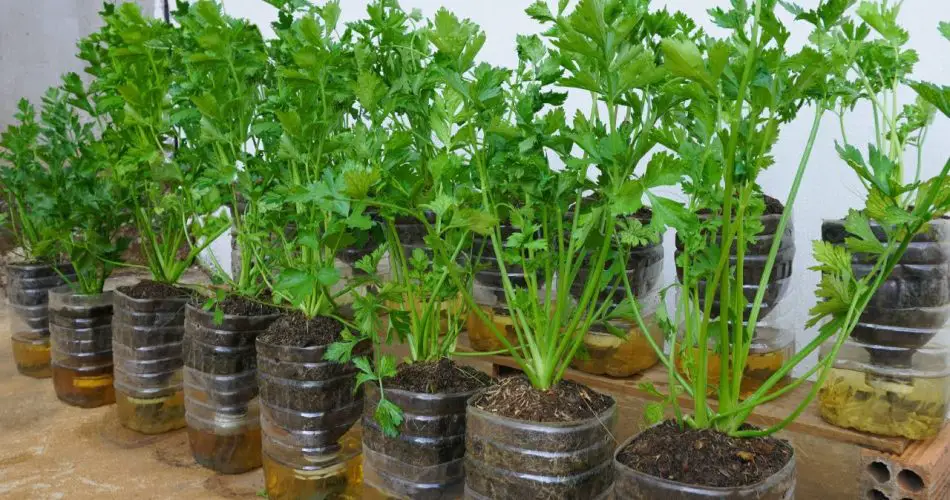
- Gather Your Plastic Bottles: Start by collecting a few plastic bottles of various sizes. These will serve as the containers for your celery plants. Ensure the bottles are clean and have the labels removed.
- Cutting and Preparing the Bottles: Carefully cut the plastic bottles in half, keeping the bottom portion to serve as the planting container. Create drainage holes in the base to prevent waterlogging, ensuring a well-draining environment for your celery plants.
- Choosing the Right Celery Variety: Select a celery variety suitable for container gardening. Compact and self-blanching varieties work well in confined spaces, making them perfect for your plastic bottle garden.
- Preparing Nutrient-Rich Soil: Create a nutrient-rich soil mix by combining potting soil with well-rotted compost. Celery plants thrive in soil that provides ample nutrients and good drainage.
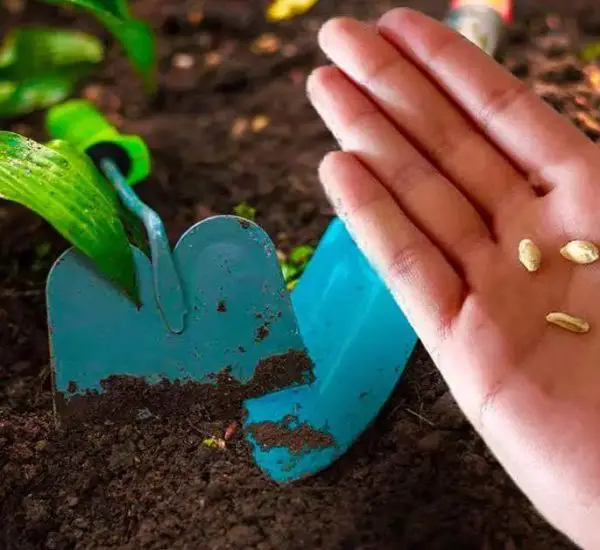
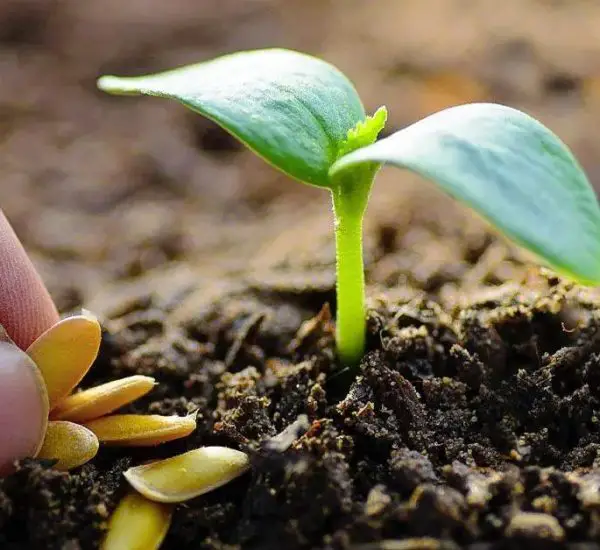
- Planting Celery Seeds or Seedlings: Sow celery seeds or transplant seedlings into the prepared plastic bottle containers. Ensure that the seeds are planted at the recommended depth, and provide adequate spacing between plants.
- Watering Wisely: Celery requires consistent moisture to thrive. Water the plants regularly, keeping the soil consistently moist. Be cautious not to overwater, as celery does not tolerate waterlogged conditions.
- Sunlight Requirements: Place your plastic bottle celery garden in a location that receives at least 6-8 hours of sunlight per day. Celery plants appreciate full sun but can tolerate partial shade.
- Feeding Your Celery: Although celery is not heavy feeders, provide a balanced liquid fertilizer every few weeks to support healthy growth. Follow the recommended dosage on the fertilizer packaging.
- Harvesting Your Homegrown Celery: Once your celery plants reach the desired size, harvest by cutting the outer stalks at the base. Leave the inner stalks to continue growing for future harvests. Enjoy the crisp and flavorful taste of your homegrown celery.
- Expand and Share the Joy: If you find success with your plastic bottle celery garden, consider expanding your setup or sharing the idea with fellow gardening enthusiasts. This simple yet effective method allows you to enjoy fresh celery and share the joy of home gardening.
Conclusion: Growing a dream celery garden using just a few plastic bottles is a brilliant and accessible way for housewives and gardening enthusiasts to cultivate fresh produce at home. With this innovative approach, you can transform ordinary plastic bottles into functional containers, bringing the delight of homegrown celery to your kitchen. Embrace the bottle brilliance, and revel in the satisfaction of cultivating your dream celery garden with ease. Happy gardening!