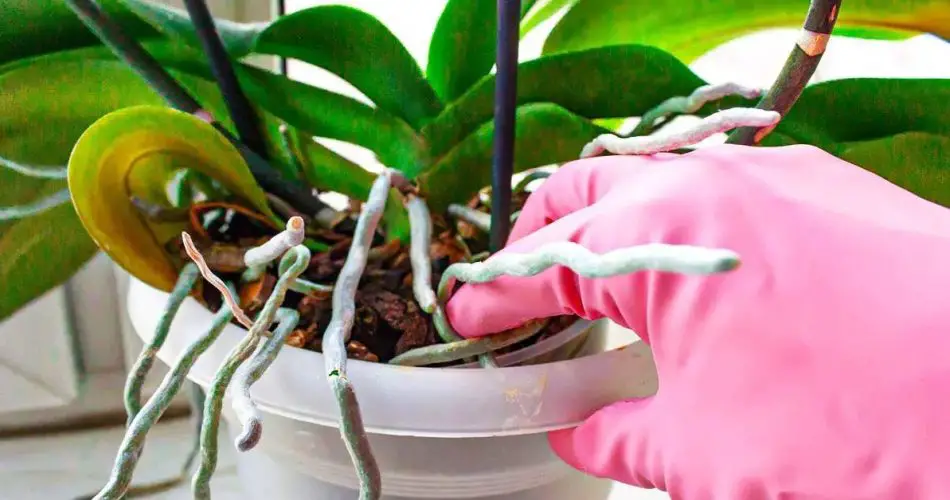
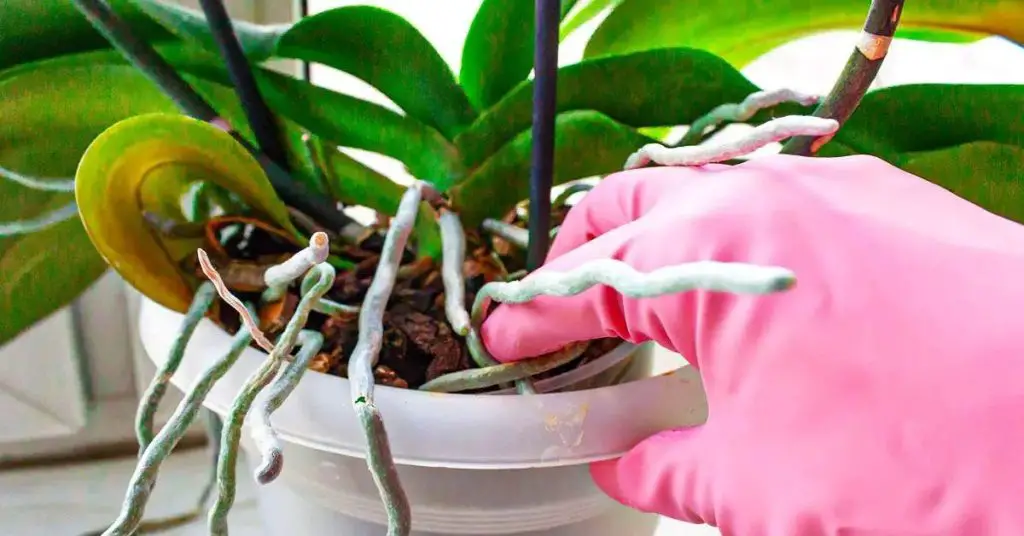
If you’ve noticed orchid roots overflowing from your plant’s pot, don’t panic—this is a normal occurrence! The roots you see are likely aerial roots, which are common in phalaenopsis orchids and other epiphytic orchids. Unlike terrestrial orchids, which grow in soil, epiphytic orchids grow above the ground and use these aerial roots to capture moisture from the air. If your orchid’s roots are starting to emerge from the pot, we’ve got everything you need to know to handle it.
Why Are My Orchid Roots Coming Out of the Pot?
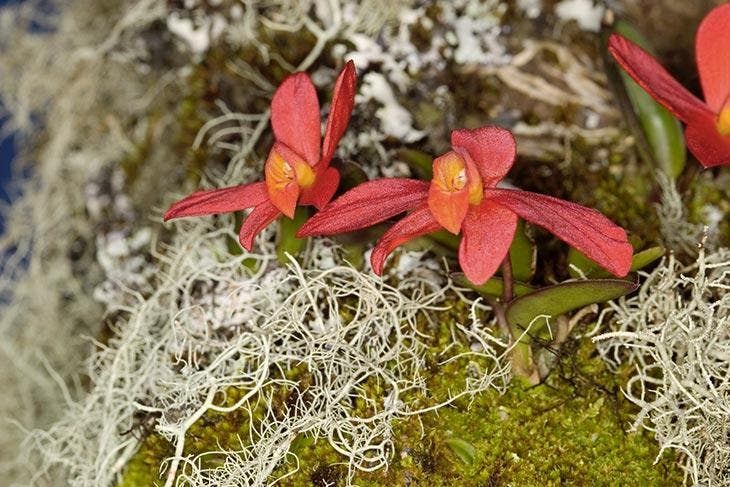
Orchids are epiphytic plants, which means they can grow on trees, rocks, and other structures without needing to be rooted in soil. Aerial roots are a key feature of these plants, helping them absorb moisture and nutrients directly from the air. If your orchid’s roots are growing out of the pot, it’s likely because it’s searching for more humidity, which is essential for orchids to thrive. Additionally, if your orchid’s roots are outgrowing the pot, it could be a sign that the plant is growing, and the pot has become too small.
What to Do with Orchid Roots That Come Out of the Pot?
Don’t worry—there’s a simple solution to this problem: repotting. Here’s how to do it step by step:
- Remove the Orchid from Its Pot
Before repotting, soak the pot in cool water (not cold) for about 30 minutes. This will help loosen the growing medium, making it easier to remove the orchid. After soaking, drain the pot to remove excess water. - Check the Color of the Roots
Healthy roots should be green or white. If the roots look healthy, your orchid is in good shape. If you’re not sure, consider using a transparent pot to monitor the health of the roots more easily. - Cut Off Dead or Rotten Roots
If you find any brown, soft, or gray roots, these are likely rotten. Use clean, disinfected pruning shears to carefully cut them off and prevent the spread of disease. - Repot the Orchid
Choose a pot that is slightly larger than the current one, with drainage holes to prevent water stagnation. Orchids need light to grow, so a transparent pot is ideal. Fill the new pot with orchid potting mix or a bark mix to ensure good drainage and air circulation for the roots. You can also add a layer of small stones or pebbles to further promote drainage. When placing your orchid in its new pot, make sure the roots aren’t bent or compressed. If some roots are sticking out but still appear healthy, don’t cut them. These roots help the plant absorb nutrients. After repotting, place your orchid in a cool area with good airflow, and avoid watering it for a few days to prevent shock. Once you see signs of new growth—like a new root or leaf—you can resume your regular orchid care routine.
How to Save an Orchid with Rotten Roots
If your orchid’s roots have rotted due to overwatering or poor conditions, don’t give up just yet! Here’s how to save your orchid:
- Remove the Orchid from Its Pot
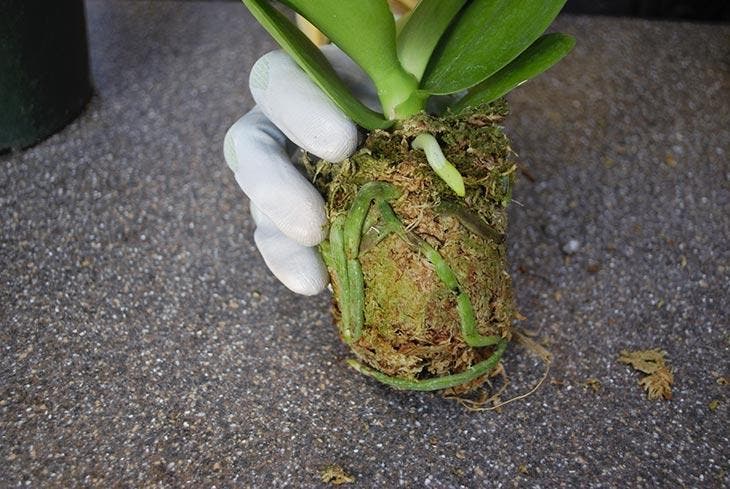
Gently remove the plant from its pot and carefully remove the soil from the roots. - Cut Off Rotten Roots
Use clean, sharp scissors or pruning shears to cut off any rotten or mushy roots. - Apply Fungicide
Apply a fungicide, like powdered sulfur, to the cuts to prevent further infection. - Dry the Roots
Place your orchid on a paper towel or clean cloth to allow the roots to dry for a few hours. - Repot the Orchid
After the roots have dried, repot the orchid in fresh potting mix, preferably one made of charcoal or bark. Make sure to choose a clean pot or a terracotta pot, which is better for orchids.
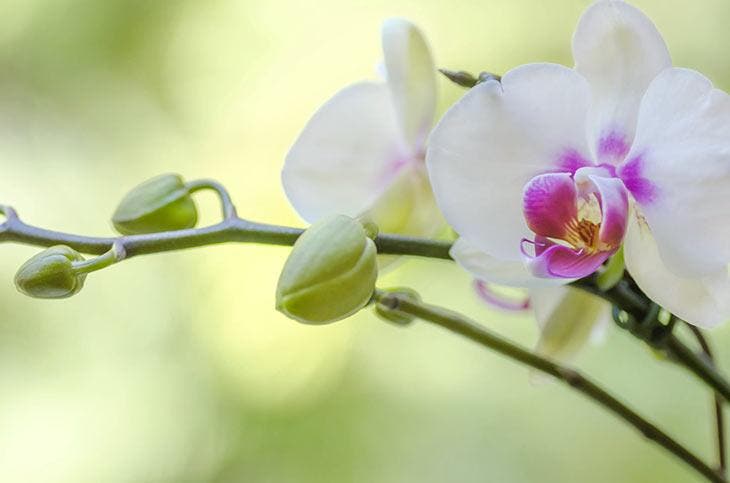
With proper care, your orchid should bounce back and continue to thrive.
Tips for Better Orchid Care
Orchids are relatively easy to care for if you follow these simple steps:
- Light: Place your orchid in bright, indirect light. Avoid direct sunlight, as it can burn the leaves. An east- or west-facing windowsill is ideal.
- Humidity: Orchids love humidity. If your home is dry, mist the orchid’s foliage (but not the flowers) 2-3 times a week. Alternatively, place the pot on a tray of damp gravel to increase moisture around the plant.
- Watering: Before watering, lift the pot to see if it feels light. Water the plant only when it feels light, indicating it needs moisture. You can also dip the orchid pot in a basin of water, then let it drain completely.
- Water Quality: Use non-calcareous water, such as rainwater, for best results.
- Fertilizing: Use a special orchid fertilizer from spring to fall to help your plant thrive.
Conclusion
If you notice orchid roots coming out of the pot, it’s a sign that your plant is growing and looking for more moisture. Instead of worrying, simply repot your orchid to ensure its roots have enough space to thrive. With the right care and attention, your orchid will continue to bloom beautifully, giving you colorful and fragrant flowers for years to come.