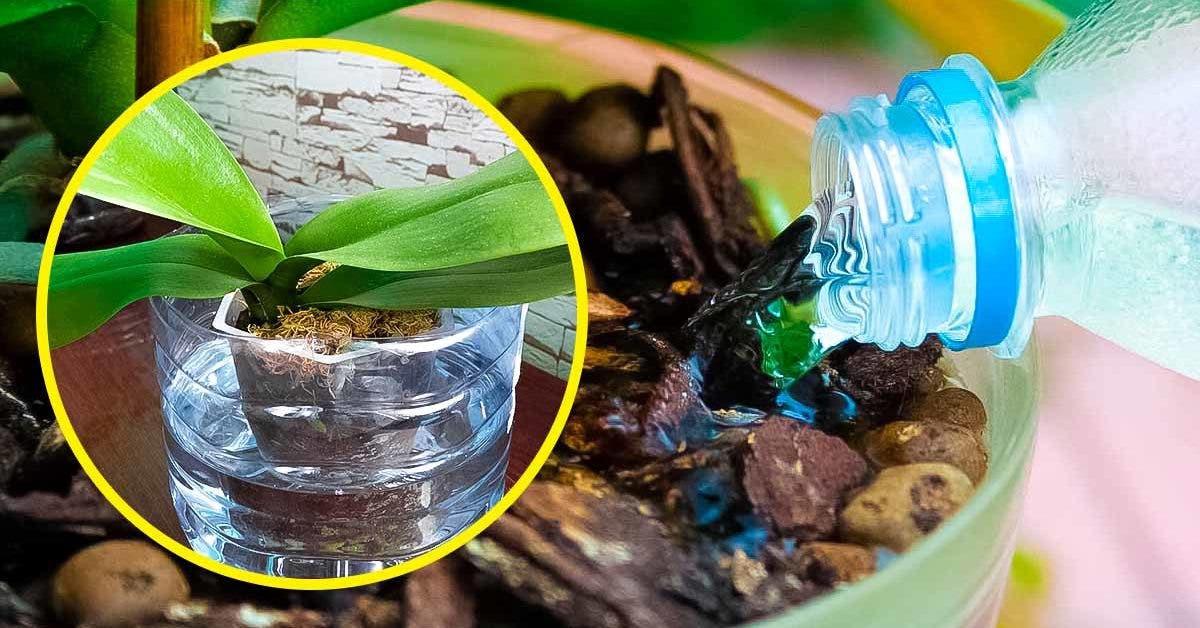
Orchids are among the most beautiful and long-lasting tropical plants, admired for their stunning flowers and vibrant colors. However, as they grow, their roots may outgrow the pot, leading to dryness and rot. When this happens, repotting is necessary, but it’s also the perfect opportunity to propagate your orchid. Fortunately, this process is easier than you might think, and with a simple technique, you can easily grow more orchids right at home.
A Brief History of the Orchid
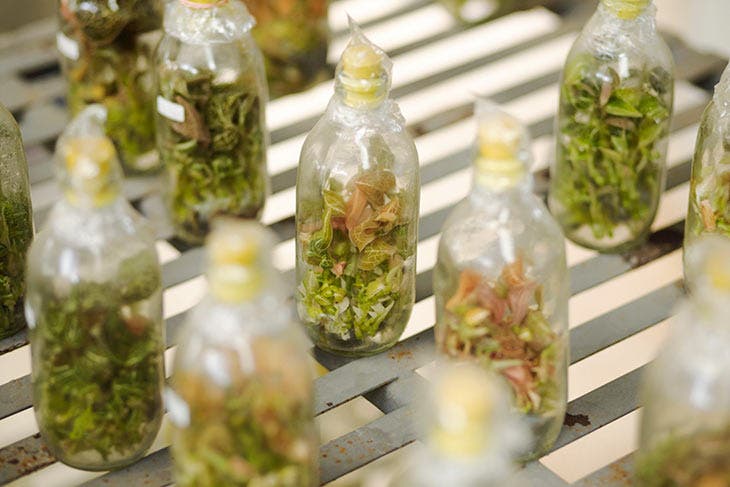
The orchid is one of the largest plant families, with over 25,000 species. Their exquisite beauty and diverse forms have fascinated plant enthusiasts for centuries. Orchids first appeared around 200 million years ago, and by the 1st century, they were identified as orchids by Greek botanist Pedanius Dioscorides. Over the centuries, orchids have spread globally and are celebrated for their medicinal properties and ornamental value.
Now, let’s dive into a simple and effective method for propagating orchids at home.
How to Propagate an Orchid Using the Plastic Bottle Trick

You don’t need to be an expert to successfully propagate your orchid. With just a plastic bottle and a few basic tools, you can easily multiply your orchids. Follow these easy steps:
What You’ll Need:
- At least 2 orchid branches
- Sphagnum moss (a type of moss ideal for orchids)
- 2 elastic bands
- An empty plastic bottle
- Scissors or a cutter
- A bit of alcohol (for sterilizing the scissors)
Step-by-Step Guide:
- Prepare the Cuttings
Using sterilized scissors or a cutter, take a cutting from your orchid. If you only have one branch, you can cut it in half to create two equal-sized stems. If the orchid still has flowers, make sure to remove them as well. - Prepare the Moss
Place the sphagnum moss in a bowl and spray it lightly with water. Squeeze the moss to ensure it is evenly hydrated. Sphagnum moss is great for orchids as it creates a tropical environment around the roots. - Wrap the Moss Around the Cuttings
Take the hydrated moss and wrap it around the end of each cutting. Secure it with elastic bands to keep the moss in place. - Prepare the Plastic Bottle
Carefully cut the plastic bottle in half using a cutter, so you can easily fit the two parts together. - Set Up the Propagation Container
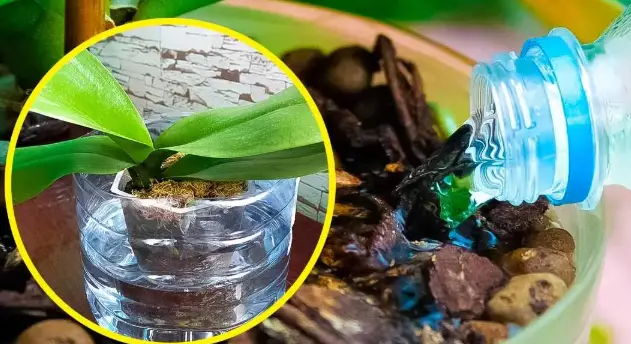
Fill the bottom of the bottle with about 2 centimeters of water. Then, place the cuttings at the bottom, ensuring that the moss is fully submerged in the water. - Close the Bottle and Create Air Holes
Reassemble the bottle by inserting the upper part into the lower part. Use a needle or awl (which you can heat for easier use) to make a few small holes in the bottle’s lid. - Wait for the Roots to Form
Place the bottle in a well-lit spot, away from drafts and excessive heat. Allow the cuttings to stay in the bottle for about 2 weeks. After this period, the cuttings should begin developing roots. - Plant the Cuttings
Once the roots appear, it’s time to transplant the cuttings into a pot with soil suitable for orchids. You’ll soon have new orchids to enjoy!
Conclusion
With this simple trick, you can easily propagate your orchids and enjoy more of these beautiful plants at home. By using a plastic bottle and some basic materials, you can watch as your orchid cuttings grow roots and develop into healthy plants. In no time, you’ll have a thriving collection of orchids to brighten up your home with their elegant, long-lasting blooms.