“No Green Thumb? No Problem! Foolproof Tips for Growing Bottle Gourds Without Gardening Experience”
Introduction:
Have you ever dreamt of cultivating your own fresh produce but felt discouraged by your lack of gardening experience? Fret not, as there’s a simple trick that can help you grow bottle gourds effortlessly, even if you’ve never wielded a gardening tool before. In this article, we’ll explore a foolproof method that requires minimal effort and guarantees success in cultivating this versatile and nutritious vegetable.
The Trick: Bottle Gourd in a Container
Growing bottle gourds doesn’t have to be complicated, and with the following steps, you’ll be on your way to enjoying homegrown goodness without the need for a green thumb:
- Choose the Right Container: Select a large container or pot with good drainage. This will help prevent waterlogged soil, ensuring optimal growing conditions for your bottle gourd.
- Quality Soil Mix: Use a well-draining potting mix or create your own by combining garden soil with compost. This provides the necessary nutrients for your bottle gourd to thrive.
- Select the Right Variety: Opt for a bottle gourd variety that is well-suited for container gardening. Look for compact or dwarf varieties, as they are more manageable and adapt well to confined spaces.
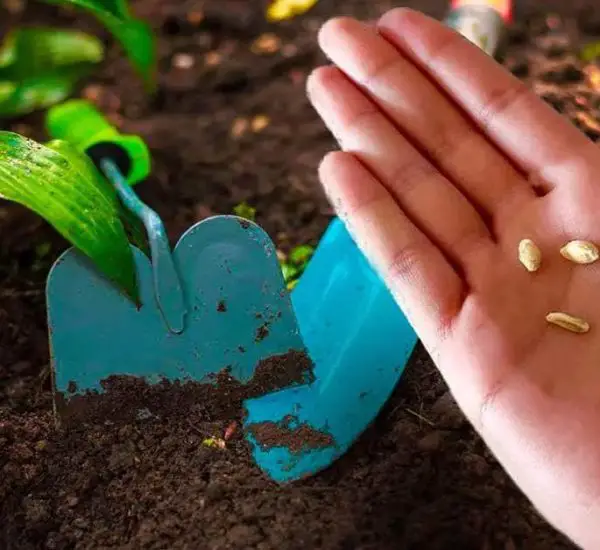
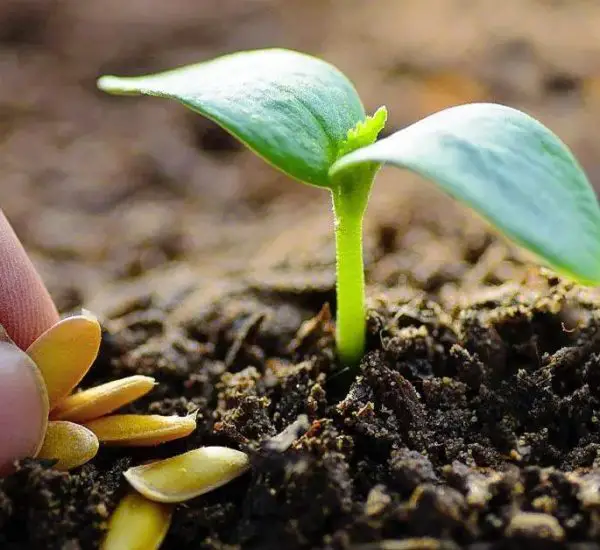
- Germinate Seeds Indoors: Start by germinating bottle gourd seeds indoors. This can be done by placing seeds in small pots or seed trays filled with seed-starting mix. Keep the soil consistently moist until seedlings emerge.
- Transplant Seedlings: Once your bottle gourd seedlings have reached a suitable size, transplant them into your chosen container. Ensure they are spaced adequately to allow for proper growth.
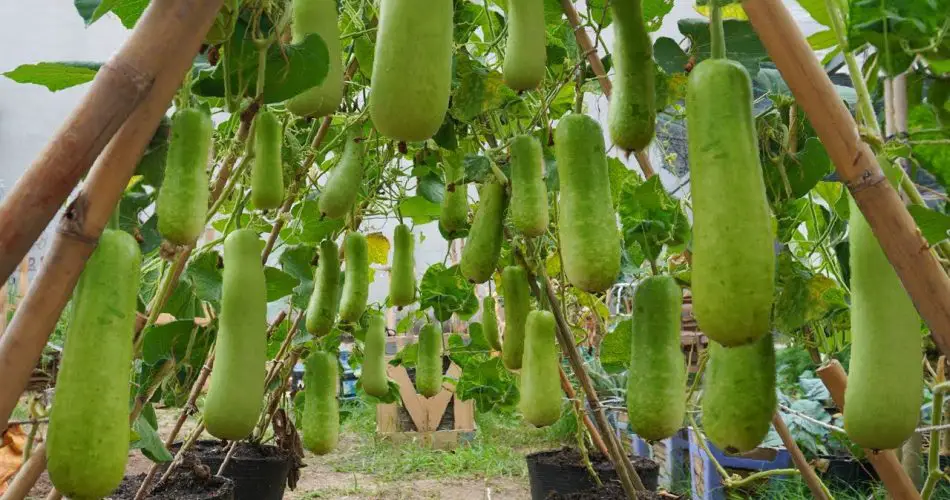
- Provide Support: Bottle gourd plants are known for their sprawling vines, so provide a trellis or support structure for them to climb. This not only saves space but also promotes healthier growth and makes harvesting easier.
- Sunlight and Water: Place your container in a sunny spot, as bottle gourds thrive in full sunlight. Water the plants regularly, keeping the soil consistently moist but not waterlogged.
- Harvesting: Bottle gourds are typically ready for harvest when they reach a mature size, usually around 60-90 days after planting. Use a sharp knife or scissors to cut the gourds from the vine, leaving a short stem attached.
Benefits of Container Gardening for Bottle Gourds:
- Beginner-Friendly: Container gardening is perfect for those new to gardening, providing a manageable and controlled environment for plant growth.
- Space-Efficient: Ideal for individuals with limited space, container gardening allows you to grow bottle gourds on patios, balconies, or even windowsills.
- Low Maintenance: With minimal care and attention, container-grown bottle gourds are less susceptible to pests and diseases, making the growing process hassle-free.
Conclusion:
Growing bottle gourds without gardening experience is not only achievable but also enjoyable with the container gardening trick. By following these straightforward steps, you can savor the satisfaction of cultivating your own bottle gourds, adding a touch of homegrown goodness to your meals without the need for extensive gardening knowledge.