Planting a pomegranate pen, or cutting, can be an exciting and rewarding gardening project. Here’s a detailed account of my experience and the results I achieved.
1. Preparing the Pomegranate Pen
- Selecting the Cutting: I chose a healthy, semi-hardwood cutting from an existing pomegranate tree. The cutting was about 8-10 inches long and had several leaf nodes.
- Preparing the Cutting: I removed the leaves from the lower half of the cutting and dipped the cut end in rooting hormone to encourage root development.
2. Planting the Cutting
- Planting Medium: I used a well-draining potting mix, enriched with compost to provide nutrients.
- Pot Selection: Initially, I planted the cutting in a small pot to control the growing conditions more effectively.
- Planting Process: I inserted the cutting about 2-3 inches deep into the potting mix and watered it thoroughly.
3. Creating the Right Environment
- Humidity and Warmth: To maintain high humidity and warmth, I covered the pot with a plastic bag and placed it in a bright location with indirect sunlight.
- Watering: I kept the soil consistently moist but not waterlogged, ensuring good drainage to prevent root rot.
4. Root Development
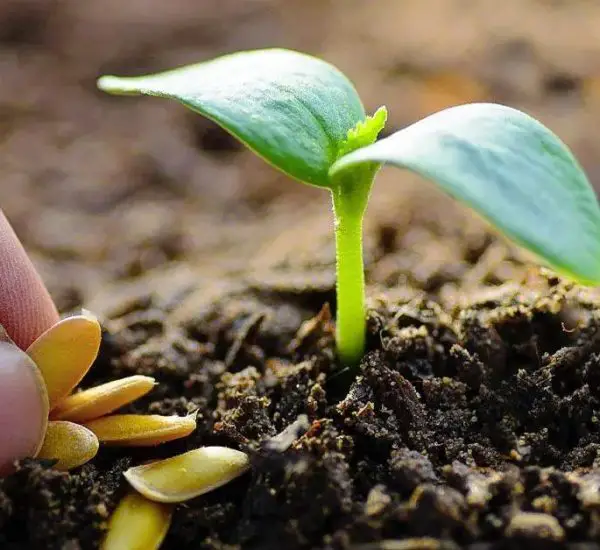
- Monitoring Progress: Within a few weeks, I noticed new growth emerging from the cutting, indicating successful root development.
- Transplanting: After the cutting developed a robust root system, I transplanted it to a larger pot with well-draining soil and continued to monitor its growth.
5. Establishing the Plant
- Sunlight: I gradually acclimated the young plant to direct sunlight, moving it outdoors to a sunny spot.
- Watering and Feeding: Regular watering and occasional feeding with a balanced fertilizer helped the plant grow strong and healthy.
6. Results
- Initial Growth: The pomegranate pen quickly established itself, showing vigorous growth within the first few months.
- Flowering and Fruiting: In its second year, the plant produced its first flowers. By the end of the season, I was thrilled to see small, developing pomegranates.
7. Challenges and Solutions
- Pest Management: I encountered a few pests, like aphids and whiteflies, but managed them with organic insecticidal soap and regular monitoring.
- Pruning: Regular pruning helped shape the plant and promoted better airflow, reducing the risk of disease.
8. Harvesting the Fruit
- Ripeness: I waited until the fruits were fully ripe, characterized by a deep red color and a slightly soft feel.
- Harvesting: Carefully cutting the fruit from the tree to avoid damaging the plant, I was rewarded with my first homegrown pomegranates.
9. Reflection
- Satisfaction: The journey from planting a cutting to harvesting fruit was incredibly satisfying. It required patience and care, but the rewards were well worth the effort.
- Tips for Success: For those interested in growing pomegranates from cuttings, I recommend ensuring proper humidity during the rooting phase, gradual acclimation to sunlight, and regular maintenance to promote healthy growth.
Conclusion
Planting a pomegranate pen and watching it grow into a fruitful tree was a rewarding gardening project. The key to success lies in careful preparation, consistent care, and patience. With these elements in place, you can enjoy the fruits of your labor, quite literally, in the form of delicious, homegrown pomegranates. Happy gardening!
Show Comments