Orchids are the epitome of elegance and sophistication. Whether as a gift or a personal addition to your home, their beauty and longevity make them a prized plant. Beyond their aesthetic appeal, orchids also carry symbolic meanings based on their colors:
- Pink orchids symbolize love and gratitude.
- White orchids represent innocence and purity.
- Yellow orchids evoke happiness and success.
But have you ever wondered how to extend their beauty by propagating them from flower stems? Let’s dive into the details!
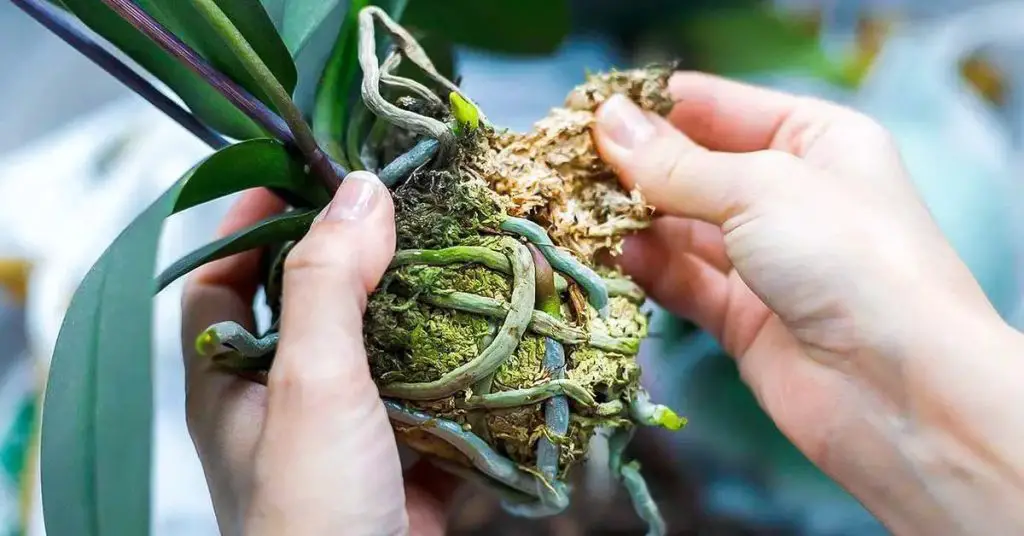
Why Propagate Orchids?
Unlike many cut flowers, orchids can thrive for years with proper care. Propagating them not only extends their life but also allows you to multiply their beauty. While the process may require patience and precision, the results are worth it.
Steps to Propagate Orchids from Flower Stems
To successfully propagate orchids, follow these steps carefully:
1. Prepare a Potato-Based Nutrient Solution
- Take the peel of half a potato and blend it with 200 ml of water.
- Strain the mixture to create a nutrient-rich solution.
2. Select and Prepare the Flower Stem
- Choose a healthy flower stem with several small shoots.
- Using a sterilized cutter, cut the stem crosswise.
- Place the cut stem in a small glass jar and pour the potato solution over it. Allow it to soak for 20 minutes.
3. Disinfect the Stem
- Mix a teaspoon of cinnamon with hot water, stir, and strain the liquid.
- Dip a cotton ball in the cinnamon solution and gently rub it on the stem to disinfect it.
4. Seal and Plant the Stem
- Seal both ends of the stem with candle wax to retain moisture.
- Place moistened moss in a small plastic pot and lay the sealed stem on top.
- Cover the setup with transparent plastic wrap to maintain humidity, and poke holes for air circulation using a toothpick.
Conditions for Optimal Propagation
- Keep the pot in a cool, well-lit room at around 25°C. Avoid direct sunlight.
- Monitor soil moisture regularly and water the orchid as needed.
After approximately one month, you’ll notice small shoots emerging from the stem. Continue spraying water to maintain moisture.
Additional Propagation Techniques
1. Propagating from Leaves
You can propagate orchids from leaves by following these steps:
- Separate a healthy leaf with a piece of the stem using sterilized shears.
- Dry the leaf for 8 hours and apply a root stimulator.
- Dissolve an activated carbon tablet in water and immerse the stem in this solution.
2. Repotting the New Orchid
Once your orchid has developed strong roots and leaves, repotting is essential:
- Choose the right pot: Ensure it’s slightly larger than the original.
- Select the right substrate: Use “Orchid Soil,” rich in pine bark.
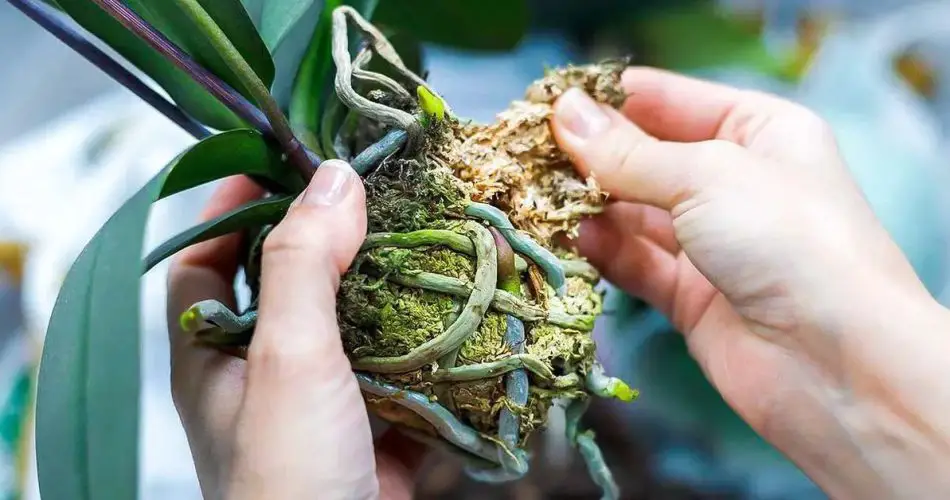
- Repot gently: Remove the orchid from its pot, clean the roots, and replant it in fresh bark.
The Reward of Patience
With careful attention and patience, your propagated orchid will begin to flourish. Within four months, you’ll enjoy a thriving plant with vibrant leaves and strong roots—a beautiful testament to your gardening skills!
Propagating orchids is not only a rewarding experience but also a sustainable way to expand your collection. So why not give it a try? Your garden (and your orchids) will thank you! 🌸