Repotting an orchid may seem intimidating, but with the right materials and some careful steps, you can ensure your plant thrives in its new home. Whether you’re a seasoned orchid grower or a beginner, knowing when and how to repot is essential to keep your plant healthy and blooming.
🕒 When to Repot an Orchid

Orchids need repotting for several reasons, such as when the substrate becomes compacted and decomposed, hindering root aeration, or when the plant has outgrown its pot. It may also be necessary if you notice signs of root rot. In general, it is recommended to repot orchids every two years, though this can vary depending on growing conditions and the type of orchid.
🛠 Necessary Materials
Before you begin repotting, gather the following materials:
- Scissors: A sharp, sterilized pair is essential to remove any diseased or damaged roots. Clean tools prevent the spread of diseases.
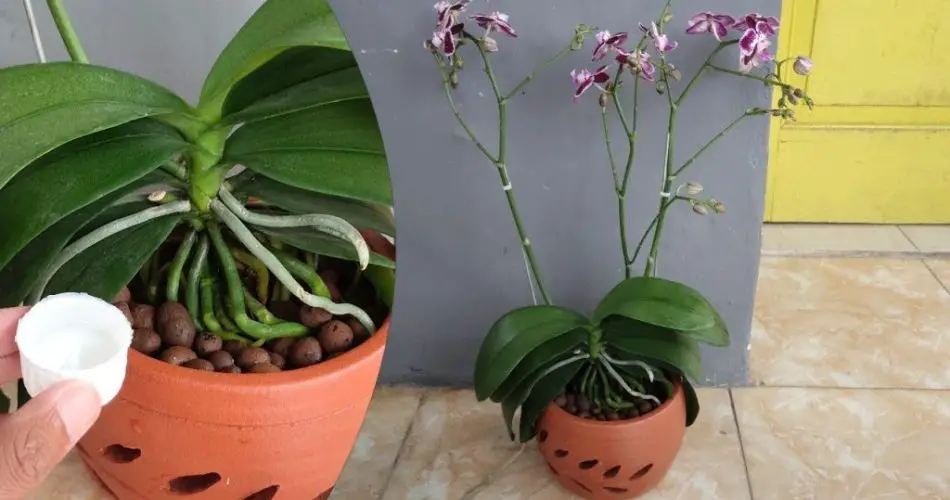
- Pot: Choose a pot slightly larger than the previous one, with good drainage holes. Plastic or terracotta pots are preferred for their breathability.
- Expanded Clay: This is used as a drainage layer at the bottom of the pot to prevent waterlogging. Soak it in water beforehand to sterilize it.
- Hydrogen Peroxide: Useful for sanitizing roots and the potting environment, hydrogen peroxide can help prevent fungus and bacteria growth.
- Water: Clean water is needed both for diluting the hydrogen peroxide solution and for watering the orchid after repotting.
🌿 Procedure for Repotting the Orchid
1. Removing the Roots
Start by gently removing the orchid from its current pot. Carefully free the roots from the old substrate. This step is crucial to give the roots access to fresh air and better absorb nutrients in the new soil.
2. Cleaning and Sanitizing the Roots
Once freed, inspect the roots for any signs of disease or decay. Use your sterilized scissors to remove any unhealthy roots. After pruning, rinse the healthy roots with running water to clear away any remaining soil or pathogens.
3. Disinfection of Roots and Leaves
Prepare a disinfectant solution by mixing a few drops of hydrogen peroxide in 250 ml of water. Using a spray bottle, lightly moisten the roots with this solution to eliminate any remaining bacteria or fungi. Also, use the mixture to gently clean the leaves to prevent the spread of infection.
4. Soaking Expanded Clay
To prepare the expanded clay, fill a basin with the clay, add a little hydrogen peroxide, and cover it with water. Let the clay soak for about 5 minutes to sterilize it and ensure it’s ready for use in the new pot.
🌱 How to Repot Orchids
1. Pot Preparation
Once the expanded clay has soaked, transfer it to the bottom of the new pot to create an excellent drainage layer. This will help avoid water stagnation, which can damage the roots.
2. Orchid Placement
Carefully place the orchid in the center of the new pot. Gently arrange the roots around the base, making sure they are distributed evenly. Gradually add fresh orchid-specific substrate around the roots, filling the pot. Avoid pressing down too hard on the soil to ensure proper root respiration.
3. Final Stage
Once the orchid is repotted, place it in a bright location, but avoid direct sunlight to help it adjust to its new environment. Do not water immediately after repotting. Wait a couple of days to allow any wounds on the roots to heal before watering.
By following these steps, you’ll provide your orchid with a fresh, healthy environment where it can thrive and continue to bloom. Happy repotting! 🌸